Aeropress Espresso: Can it be done?
Introduction
Aeropress espresso has gained a loyal following among coffee enthusiasts for its ability to easily deliver a rich, full-bodied espresso-like coffee. This guide will provide you with a comprehensive overview of why people choose the Aeropress method and step-by-step instructions on how to make the perfect Aeropress espresso. Whether you’re an espresso aficionado or a curious beginner, this guide will help you unlock the potential of this versatile brewing device.
Why Choose the Aeropress Method? 🤔
Versatility and Portability
The Aeropress tool is compact and lightweight, which makes it perfect for home use and travel use. It requires no electricity, making it a go-to brewing method for coffee lovers on the go.
Complete Control over Parameters
With the Aeropress, you have complete control over water temperature, brew time, and coffee-to-water ratio. This level of control allows you to fine-tune your brewing process and customize your espresso to suit your preferences.
Clean-up is a breeze!
Unlike when making espresso machines, the Aeropress is easy to clean. After brewing, simply remove the filter cap and eject the used coffee puck into the trash. A quick rinse is usually sufficient, making it a hassle-free brewing method.
Easy Step-by-Step Aeropress Espresso 💁♀️
Here is what you need to get started making your own Aeropress version of espresso:
- Aeropress
- Aeropress paper filters
- Coffee beans
- Coffee grinder
- Electric kettle or thermometer
- Timer
- Stirrer or spoon
- Mug or decanter
Time needed: 30 minutes
- Preparing the Aeropress
Place a paper filter in the filter cap and rinse it with hot water. This helps remove any papery taste and preheats the device.
- Choosing the Right Coffee Beans
Opt for freshly roasted beans for the best flavor. Experiment with different varieties to find your favorite espresso profile.
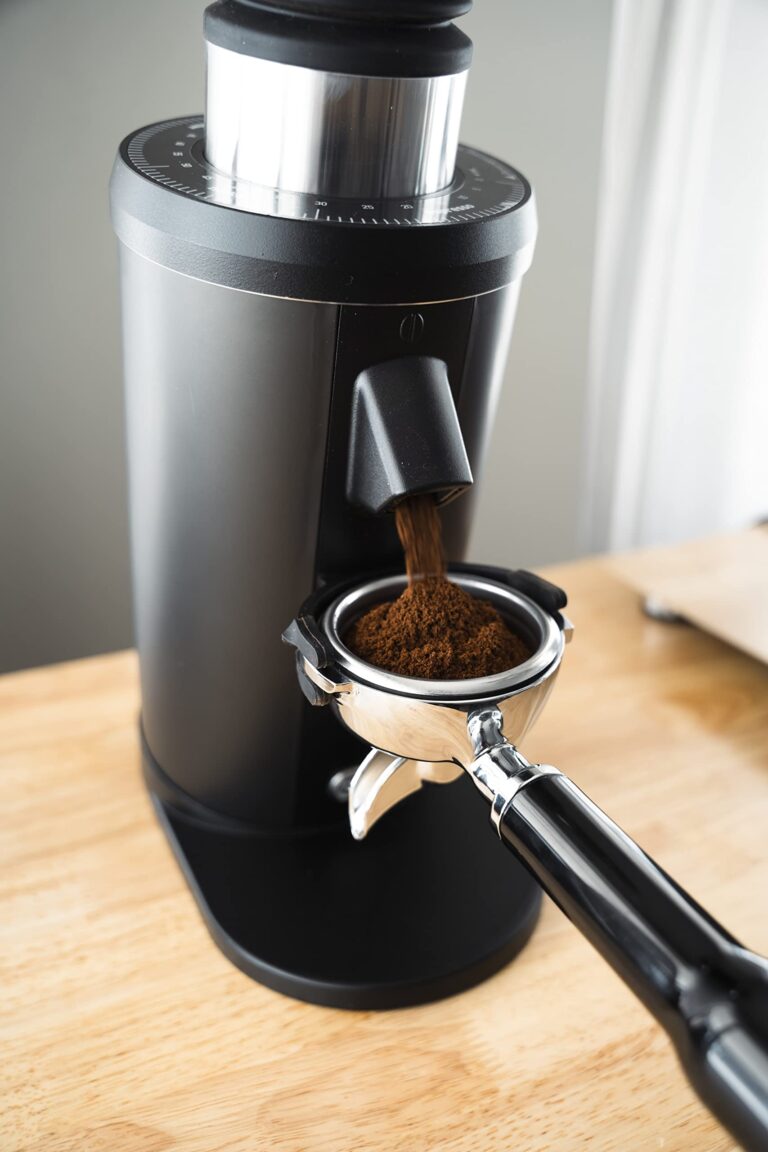
- Grinding the Coffee
Grind the coffee beans to a medium-fine consistency, similar to table salt. Adjust the grind size based on your preferences and the extraction time.
- Preheating and Wetting the Filter
Preheat your mug or decanter by filling it with hot water. In the meantime, wet the paper filter with hot water to remove any residual flavors.
- Assembling the Aeropress
Attach the filter cap to the Aeropress chamber and place it on top of your mug or decanter.
- Blooming the Coffee
Add the ground coffee into the Aeropress chamber. Start a timer and pour a small amount of hot water (twice the weight of coffee) onto the grounds to saturate them. Allow the coffee to bloom for 30-45 seconds.
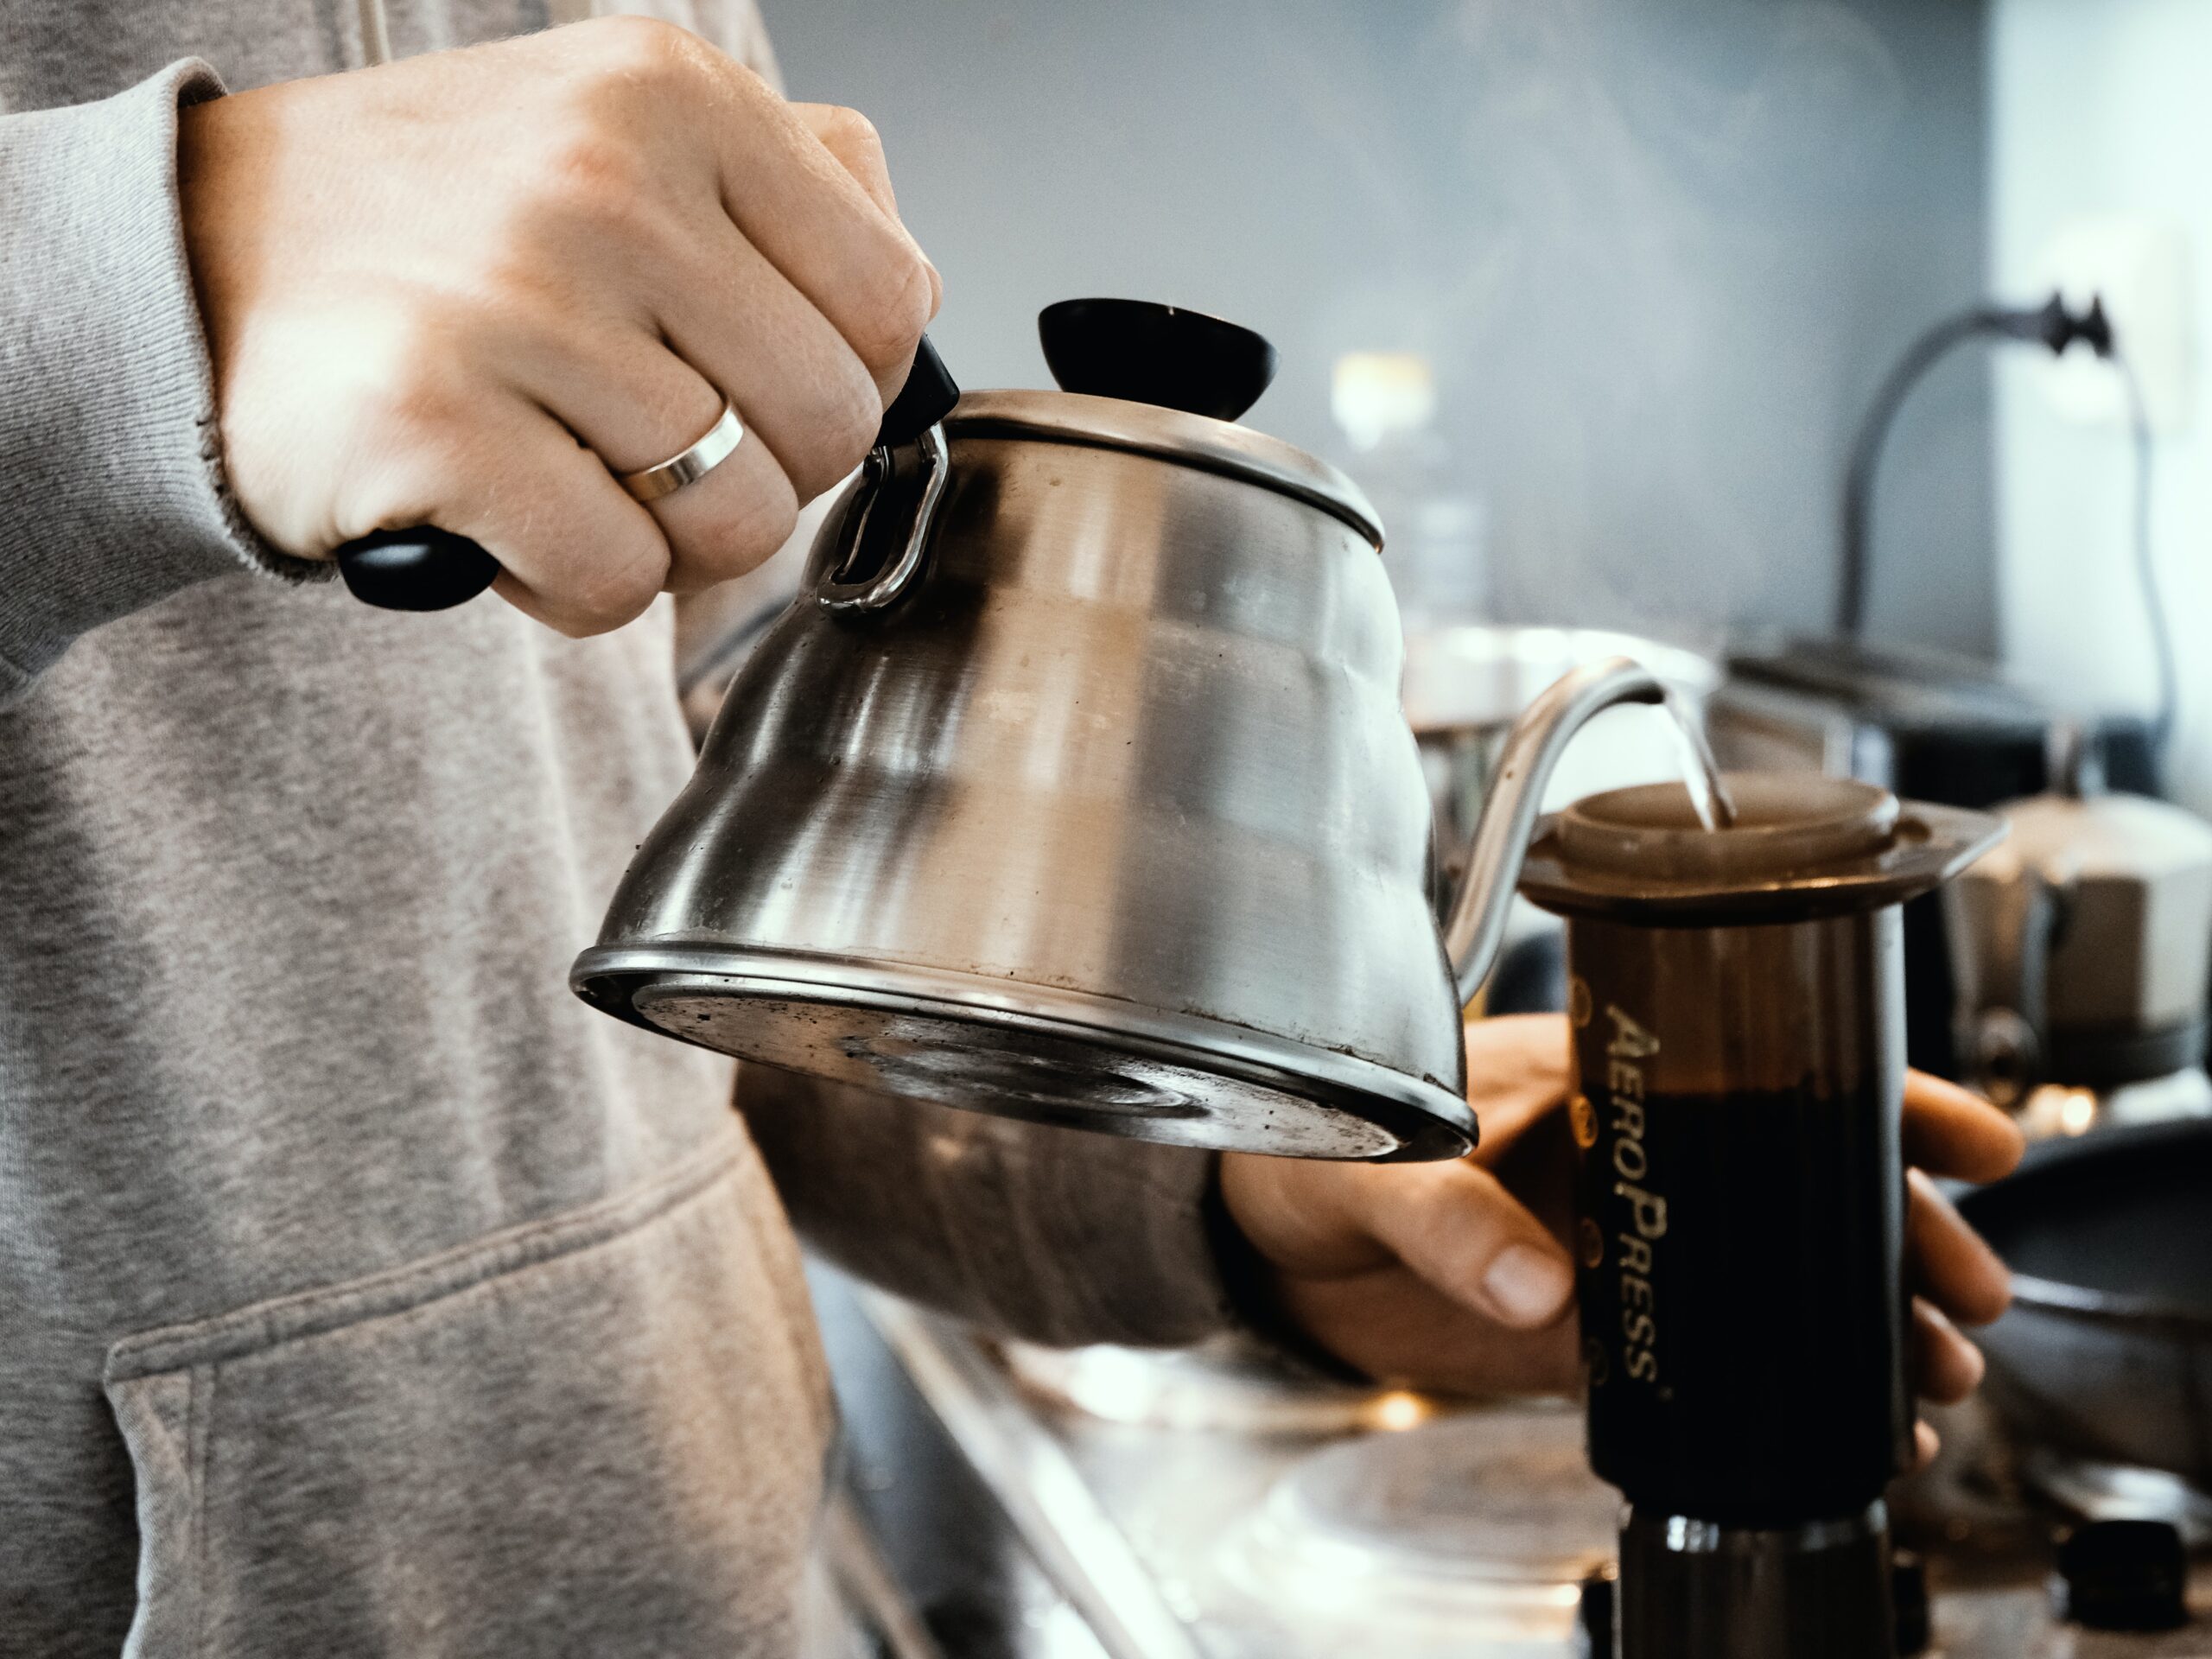
- Adding Water and Brewing
Slowly pour the remaining hot water (total brew time should be around 1-2 minutes) into the chamber, ensuring all the coffee is immersed. Stir gently for a few seconds to ensure even extraction.
- Pressing and Extracting the Espresso
Attach the plunger to the Aeropress chamber and gently press down with steady pressure until you hear a hissing sound. This should take around 30 seconds.
- Diluting (Optional)
If the espresso is too strong, you can dilute it with hot water according to your taste preference.
- Cleaning and Maintenance
Remove the filter cap, eject the coffee puck into the trash, and rinse all the components with water. Let them air dry or towel dry for future use.
Tips and Tricks for the Perfect Aeropress Espresso ✨
Experiment with Coffee Bean Varieties
Try different single-origin or blended beans to explore various flavor profiles.
Play with Grind Size and Brew Time
Adjust the grind size and brew time to control the strength and flavor of your espresso
Water Temperature and Ratios
Experiment with water temperature (about 195-250F) and coffee-to-water ratios to find your preferred balance.
Inverted Method
Advanced users may try the inverted method, where the Aeropress is flipped upside down during brewing, allowing for longer extraction times and more concentrated flavors.
Using a Timer
Consistency is key. Use a timer to measure brewing times accurately for reproducible results.
Troubleshooting Common Issues ⚠️
Over or Under Extraction
Adjust the grind size and brew time to control extraction. Finer grinds and longer brew times can increase extraction, while coarser grinds and shorter brew times can decrease it.
Weak or Watery Espresso
Increase the coffee-to-water ratio or adjust the grind size to extract more flavors.
Bitter or Sour Tasting Coffee
Adjust the water temperature, brew time, or grind size to achieve the desired balance. Finer grinds, higher water temperatures, and longer brew times can increase extraction and reduce sourness, while coarser grinds, lower water temperatures, and shorter brew times can help reduce bitterness.
Conclusion 🎉
Now you have the knowledge and confidence to create delicious Aeropress espresso at home or on the go! Just remember to experiment, adjust, and refine your brewing technique to discover your preferred flavor profile. Enjoy the process and savor every sip of your homemade Aeropress espresso!